
How to fix old photos

Fixing an old photo starts with diagnosis. Old prints usually suffer from several separate problems at once, and applying the wrong fix to the wrong problem is why results disappoint. Run the five-point check below, then apply the tools in the order it gives you.
The five-point check
- Is it faded?
Look for greys where blacks should be. Faded prints look flat and slightly milky, with no true dark anywhere in the frame.
- Is it soft?
Zoom into an eye or a button. If the edges are mushy but the paper is intact, the problem is focus or a worn negative.
- Is it physically damaged?
Creases, cracks, tape residue, missing corners, water staining. This is the only category you can feel with a fingertip.
- Is it too small?
A print that looks fine in the hand and mushy on a phone screen has a resolution problem, not a sharpness problem.
- Is the colour wrong?
Colour prints from the 1970s and 80s often shift toward orange or magenta as dyes fail at different rates.
Put the print under decent light and go through these in order. Most photos have two or three of them, rarely all five.
The order the fixes go in
Sequence matters more than people expect, because each pass works on whatever the previous one handed it.
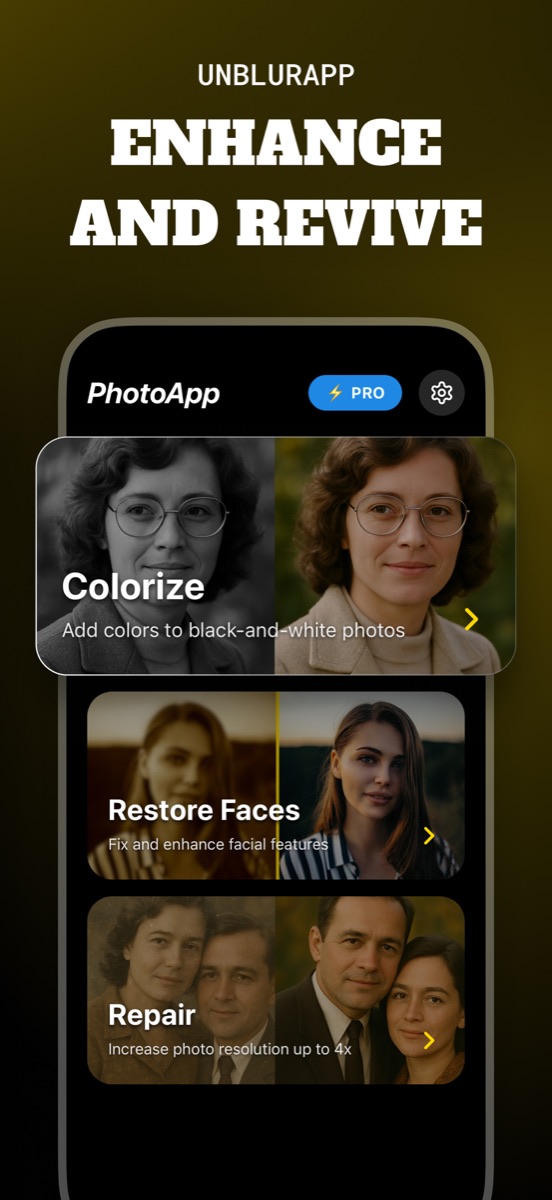
Repair goes first. It deals with fading, damage and resolution together, and it gives every later step a cleaner starting point. Restore Faces goes second, once the cracks crossing a cheek are gone and the model is not trying to rebuild an eye through a tear. Colorize goes last, because colour applied over unrepaired damage highlights the damage instead of hiding it.
Running that sequence backwards is the single most common reason a restoration comes out looking odd.
The capture puts a ceiling on everything
No amount of processing exceeds what your digital copy contains, so a careless phone snap of a good print wastes the print.
Take it out of the frame, lay it flat, and shoot in soft daylight with the flash off, holding the phone parallel to the paper. Overcast days are ideal. If the surface is glossy and you can see your own reflection, tilt the print a few degrees until it slides away. Fill the frame, and tap to focus before you shoot.
A careful capture takes two minutes and improves the result more than any setting in any app.
Problems that are not worth fixing digitally
A print stuck to glass, or to another print, is a physical problem. Pulling it free removes the emulsion and destroys the image, and no amount of restoration afterwards recovers what came off on the glass. Take it to a conservator or leave it alone.
Photographs with real historical or monetary value deserve professional handling for the same reason. And when a face has degraded past recognition, an automated tool will produce a person who is nearly but not quite your relative, which some families would rather not have.
Working through a box of them
Sort before you process. Put the faded-but-intact prints in one pile and the physically damaged ones in another, then work through a pile at a time. The decisions within a pile are the same decisions, and you stop re-thinking them for every photo.
Name the files as you go, even roughly. A folder of two hundred images called IMG_4471 onwards is a project that gets abandoned in week two.
Questions people also ask
What order should I fix an old photo in?
Repair first for fading, damage and resolution. Restore Faces second, once damage across the face is gone. Colorize last, since colour over unrepaired damage makes the damage more obvious.
Can old photos be fixed without any special equipment?
Yes. A phone camera, a window and a flat surface cover almost everything. A scanner adds resolution on very small prints but is not the deciding factor.
Related guides

How to restore old photos
Restore old photos without a scanner or Photoshop. How to capture prints properly, what AI restoration fixes, and how to make old photos look new.
Read the guide →
How to restore old damaged photos
Repair damaged photos with cracks, scratches, tape marks and torn corners. How to handle a fragile print, capture it safely, and rebuild it with AI.
Read the guide →
Turning an old photo into a new photo
Turn an old photo into a new one without losing what made it old. What to fix, what to leave alone, and how to revive old photos on your phone.
Read the guide →