
How to fix a torn photo
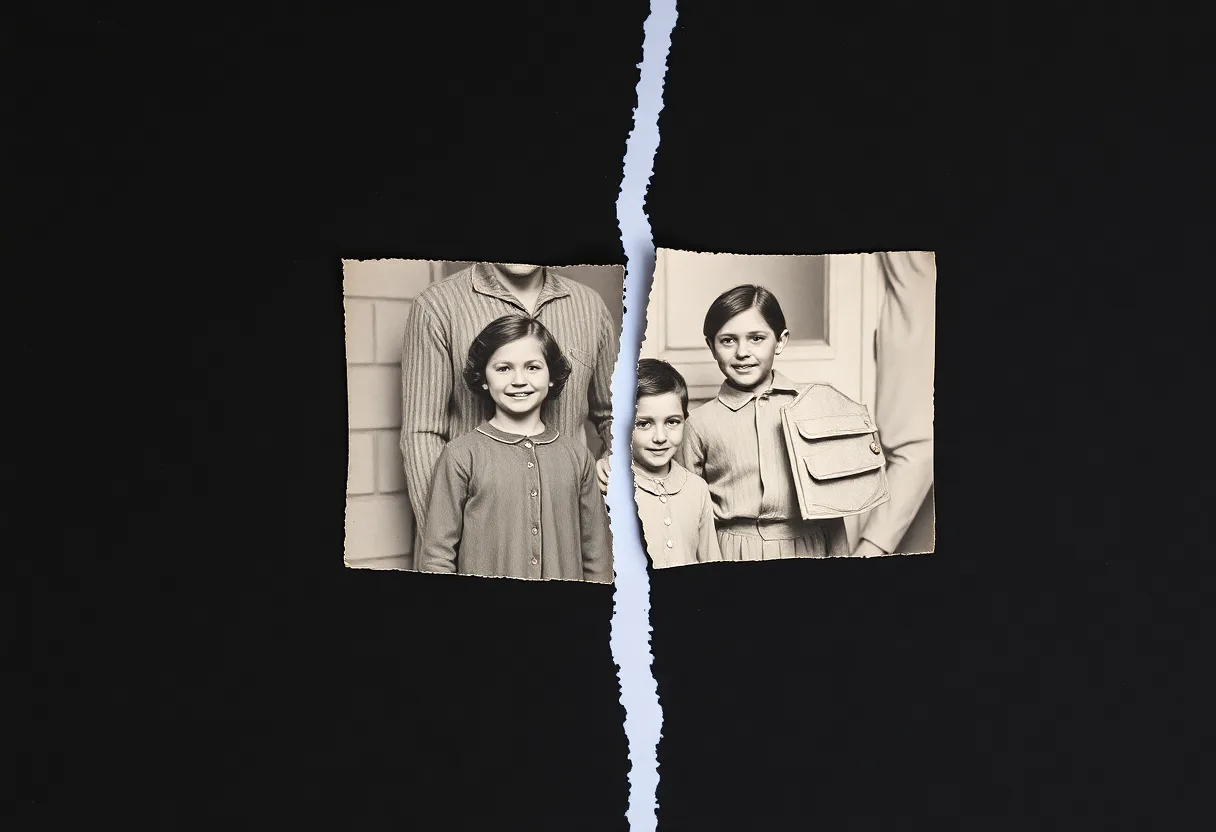
Put the pieces back together on a flat surface, photograph them as one picture, and let the repair tool close the seam. No tape, no glue, and the pieces themselves stay exactly as they are.
Why tape makes it worse
Prints tear along their weakest line, which on an old photo is often an existing crease, and the paper fibres along the edge fray and lift. The instinct is to tape it. Ordinary sticky tape yellows within a few years, its adhesive soaks into the paper, and removing it later pulls the image layer away. Plenty of family photos carry a brown stripe where someone mended a tear decades ago.
Before you photograph it
- Do not tape or glue the pieces; keep them together in an envelope until you capture them
- If old tape is already on the print, leave it there, because peeling it off tears the image layer
- Flatten curled pieces under a heavy book for a day, with a clean sheet of paper between the book and the print
Getting a good capture
- Lay the pieces on a dark, matte background and push them together until the edges touch
- A sheet of clean glass on top holds them flat, provided you angle the light to keep its reflection out of the shot
- Capture the reassembled print in one shot, so the tool sees one image rather than several
What to run, and in what order
Repair treats the tear as damage and fills it from both sides. A clean tear where the edges meet closes almost invisibly, and the white fringe left by lifted fibres fills in with it. A missing corner is reconstructed from context, which works when the corner held background and much less well when it held part of a person.
The tool for this is Repair a damaged photo.
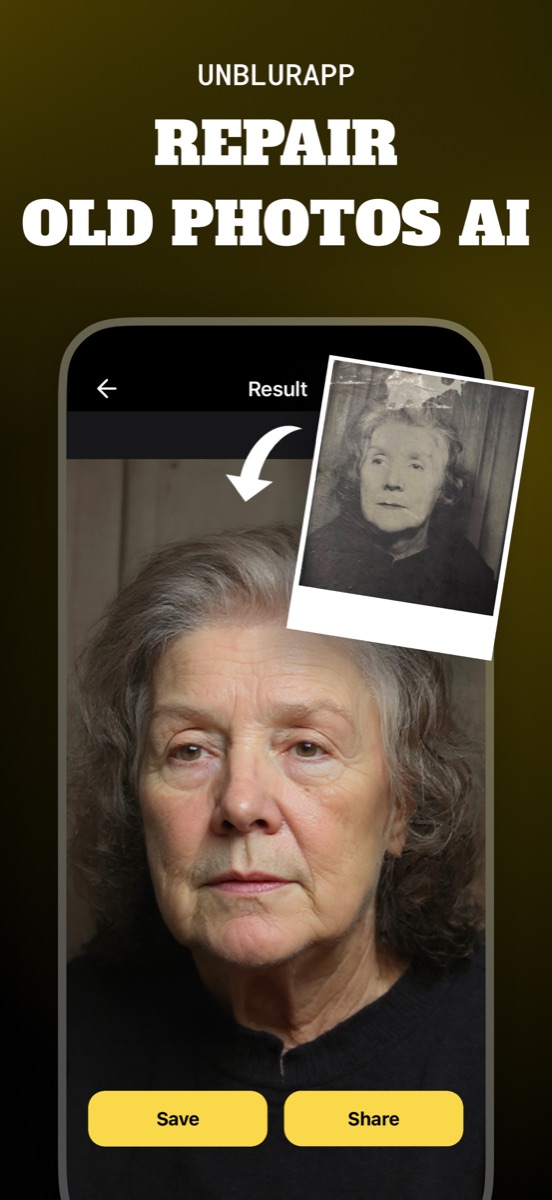
What to expect
Usually fixable. A tear with both halves present usually disappears. A missing piece is invented: a lost corner of sky comes back convincingly, a lost half of a face does not.
Practical notes
- Old tape stains respond to the same repair pass, so photograph a taped print as it is
- If a piece is lost, ask around the family for another print of the same photo before relying on reconstruction
- Keep the pieces together afterwards in a labelled acid-free sleeve, so the original is not lost
Questions
Can you repair a ripped photo without tape?
Yes. Align the pieces on a flat surface, photograph them together, and repair the seam digitally. The pieces stay untouched and you get a clean copy you can print.
What if part of the torn photo is missing?
A repair tool rebuilds the missing area from what surrounds it, which works on backgrounds and clothing. For a missing face, look for another print of the same photo before relying on reconstruction.
Going deeper
How to restore old damaged photos explains the method behind this, including what it cannot fix.